Don’t wait to shiver in your sleep and read these 7 steps for staying warm in a tent before going (probably unprepared) on your weekend camping trip.
An overnight camping trip is fun, but it can turn sour if you are unequipped.
The icy cold weather will definitely crawl on your skin, preventing you from catching that cherished sleep, making you try every position possible to keep warm, only to see the first ray of the sun peeping through the greyish clouds. Yes fellow campers, that’s my first overnight camping experience summarized into a sentence. After that first one, I am traumatized just by the mere thought of camping.
So before that happens to you, I suggest that you read this post until the end because every piece of information is crucial. I’ll share with you the most effective steps to combat the cold weather and stay warm in your tent. I hope you won’t repeat my mistakes and have a memorable camping night.
But hey, that grim camping night taught me so many things, including the steps I’ll be sharing with you so I guess I shouldn’t be too bitter about it.
The 7 Must-Do Steps for Staying Warm in a Tent
1. Scout A Guarded Area Or Campsite
First things first, you need to look for a guarded area or campsite to pitch your tent in. A favorable campsite can ensure safety and a sound night’s sleep, while a poor one can cause difficulties.
To do this, ask the management for areas suitable for pitching at night and make sure to get a copy of the camping regulations. However, if there are no sites available, you can choose your own.
Talking from experience, if you have to choose your own camping site, there are a number of things you should consider. Some are listed below:
- Pitch your tent on flat and stable areas like sand, wide rock, or bare ground. You can also camp on a tree-dense area that naturally blocks strong, chilly winds.
- Choose a campsite at least 60 yards away from a water source
- Don’t light the place up! Use as minimal fire as possible to avoid causing forest fires and make sure to put the flames out when you’re done
- Leave no unpleasant human traces – pack your garbage with you when it’s time to go
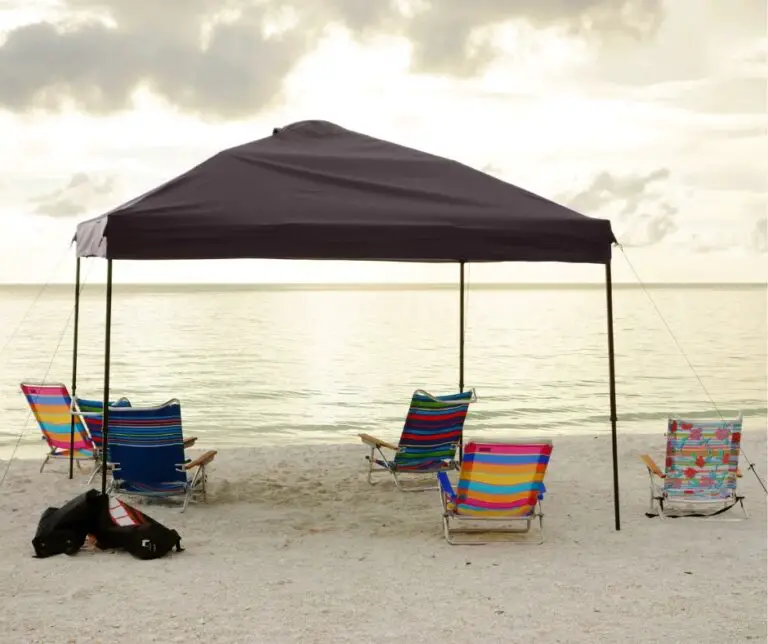
2. Time To Pitch The Tent!
Now that you’re in a safe place, it’s time to assemble your tent. When I was a newbie in camping, I used to buy the regular durable tent, but as it became my frequent weekend activity, I bought an insulated tent. Insulated tents are designed differently – it has two or more breathable layers (depends on the brand) which deliver warmth and protection from the unfriendly weather outside. It also, sort of, buffers outside noise.
Since the insulated tent is more advanced, it costs around twice or thrice the price of a regular camping tent.
But a regular camping tent will do just fine especially a three or four-season tent! I just want to remind you to choose a tent that will comfortably fit you and your companions.
3. Get Your Sleeping Bag Out
A good quality sleeping bag is a life saver.
When buying one, you should always check the “temperature rating” feature of the bag. For example, if the description says a “15-degree bag”, it means that you’ll linger comfortably in it as long as the air temperature is no less than 15°.
Below is a list of the appropriate sleeping bag temperature rating per season:
| Bag Type | Temperature Rating (°F) |
| Summer Season | +35° and higher |
| 3-Season | +10° to +35° |
| Winter | +10° and lower |
Additionally, I suggest you bring a sleeping bag liner made of materials such as cotton, fleece, or silk. They’re light and won’t take much space in your backpack. Most importantly, they add warmth to your sleeping bag. It’s a must-have if you have kids with you since they get cold very easily.
Upon waking up, drive out the moist air which condensed from your bag out (roll the bag from head to foot), then leave it open for a few minutes, letting it dry to air temperature.
If it’s sunny outside, hang it out to dry. This will prevent the accumulation of condensed air inside the bag which leads to dampness. Remember, dampness and chilliness go side by side.
4. Use A Sleeping Pad
Sleeping pads grant two important functions: warmth and cushion.
An air mattress is okay, but let’s admit it, it’s too bulky to bring and you can’t get much warmth from it.
It would be wiser to bring a high-quality sleeping pad. A sleeping pad is what you’ll lay next to the tent’s surface. They are extremely lightweight, which makes them ideal for backpacking. To inflate them, you can use your mouth and blow air for about 3 minutes or you can buy an external hand pump separately.
Personally, I think they’re one of the most wonderful camping equipment ever made. Aside from assuring comfort by providing a cushion for a feel-at-home night, it provides warmth through its insulating materials. They’re also very durable that my kids went crazy jumping on them.
Who doesn’t want to sleep in a fluffy bed and wake up to the sound of nature, right?
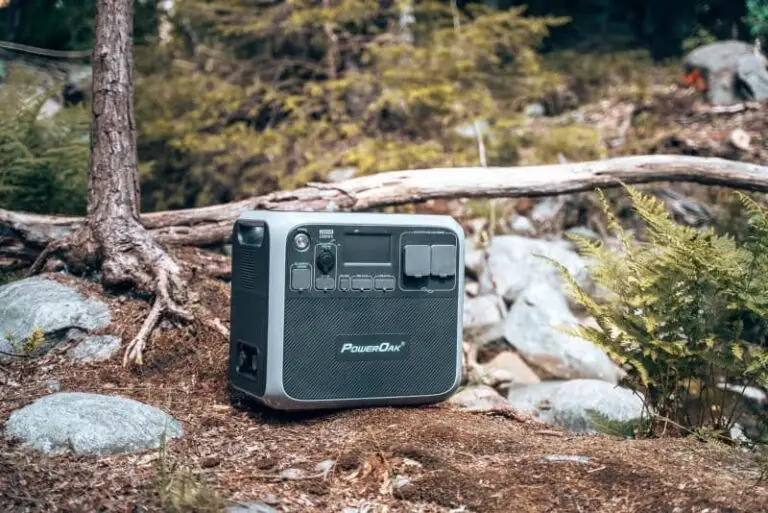
5. Buy A Catalytic Heater (Optional)
Still not warm enough after all the sleeping bags and pads? Perhaps a catalytic heater is an answer.
Catalytic heaters are perfect for near-freezing temperatures. They’re very lightweight, weighing an average of 4 pounds and compact, measuring less than 10 inches long. You can carry it by hand or stuff it inside your pack.
Catalytic heaters are designed to produce heat gradually through flameless reactions and radiate the heat into the surrounding area. A common power source for catalytic heaters used for camping is propane. With just a jar of propane, you’ll get a constant heat source for up to 10-15 hours
It’s also pretty simple to use. Just follow these easy steps:
- Take heater outside
- Attach the jar of propane
- Switch the heater on
- Light the head of the heater with a match until you see a small flame ignite.
- After the flame has died down, place the heater inside the tent.
Surely, you’ll enjoy the immediate feel of warm, cozy air!
I use this heater quite often during outdoor activities. It’s surprisingly effective given its minute appearance.
6. Clothes To Wear
Leave your set of pajamas at home and bring out the thick ones. Opt for versatile clothes that are easy to wear and can also double as a hiking outfit.
One of the functional clothes you can bring is a hooded sweater jacket or a thick turtleneck sweater that can serve you well in the day, as well as keep you warm at night.
If you’re camping on a winter season, I recommend purchasing thermal clothes such as wool and fleece jackets, long underwears, and thermal vests. All thermal clothes work according to the insulation principle – an insulated layer is inserted under the garment to retain any heat produced by the body.
Moreover, a wool or knit hat and a pair of thick socks are essential items to bring with you on a camping night. Make sure your socks and feet are both dry before climbing on your sleeping pad because if they’re not, you’re going to lose a lot of heat feel cold.
7. Keep Heated Stones Or A Bottle Of Hot Water By Your Sleeping Bag
Keep warm in an old-fashioned way using heated rocks.
An unusual way of keeping warm inside your tent is to place a few heated rocks or a hot water bottle in the cold areas of your sleeping bag.
If you want to use stones/rocks, collect a few pieces then heat it beside the flames of your bonfire (don’t forget to put it out after) or place it beside your catalytic heater for a few minutes or so until it attains the degree of warmth you want. Then wrap it in a cloth and put it a spot in your sleeping bag. Feel free to scatter the stones within the areas of the bag that needs heating.
Likewise, fill a stainless tumbler or thermos with hot water, then place it in your sleeping bag.
The stones and stainless tumbler are heat conductors that don’t easily lose heat. Whenever I use it, I quickly feel its wonderful effect on the cold areas of my sleeping bag. However, it wouldn’t last until the morning, but it will definitely keep you warm until you fall asleep.
Read More: 3 Of The Most Useful Coleman Fuel Substitutes That I Bet You Didn’t Know
Conclusion
I said too much, didn’t I?
Sorry. I was really excited to share these tips with you because this is a common problem among us campers and outdoor enthusiasts.
So let me summarize it real quick: select a suitable campsite, then pitch your tent there. After you’re done pitching, set your tent up with your tent warmers – sleeping pad, sleeping bag, and a catalytic heater (again, optional). Next, put heated stones or a hot water bottle on the chilly areas of your sleeping bag. Lastly, dress up with thermal clothes. There goes a good night’s sleep!
How about you? What do you do to stay warm inside your tent while camping? Comment your tips below!
Did you find this article useful? If so, share this article to help our fellow campers warm their tents up!
Have fun camping!

I’m Cindy, a free-spirited outdoor enthusiast. Since childhood, Our family frequently goes on weekend camps and my father, who was a skilled hunter, used to teach my siblings and me valuable things about wildlife survival. I made this blog to share my knowledge, experiences, and tips.