Whether you’re planning for a vacation or want to travel the world in comfort, converting your van into a campervan is a great way to do it. But don’t just take our word for it; many other van owners have done it before you and are more than happy with the results. Here are some tips on converting your vehicle into a fully functional campervan.
How to Turn Your Van into a Campervan
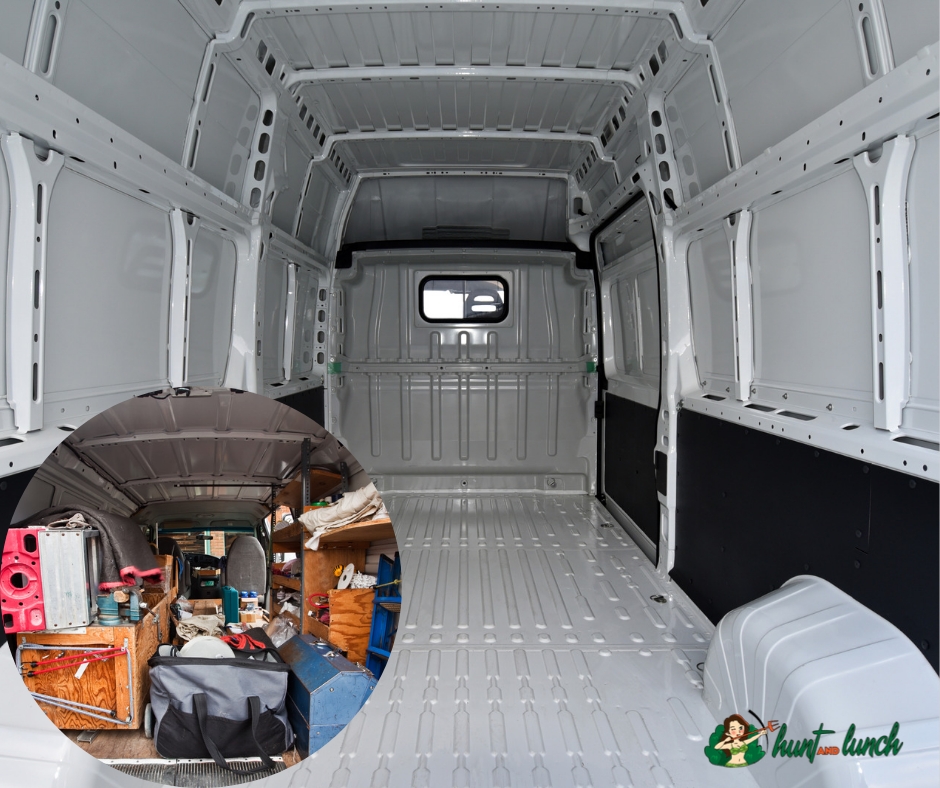
Planning and designing
When planning your van conversion, the first thing to do is to plan and design the layout of how you want your van to look. This can be an enjoyable part of the process, but it is recommended that you take it slowly and consider all aspects of what you want;
- How much space do I need?
- Where will my bed go? Will I need room for anything else in that area? What about storage space or drawers?
- Where will my kitchen go? How much countertop space do I need? Do any shelves need to be built into this area too? Am I going to have an oven or just a hot plate or both?
- Will there be seating areas within the van where friends can join me when traveling together, or is it just for me alone so there will be no other people coming along with us on our adventures in the campervan?
Choosing a base van
Choose a van that is big enough for your needs. Before purchasing a van, you should do some research on what the ideal size is for your needs. For example, choosing a smaller van will be fine if you plan to use it only for short weekend trips and no longer journeys.
Choose a van with good mileage if your main priority is saving money on fuel costs or lowering your carbon footprint. In that case, it’s worth investing in vans with better fuel efficiency ratings.
A reliable vehicle means fewer breakdowns which means less time and money spent at garages getting repairs done or waiting around while they’re being fixed. It will also save energy because you won’t need to worry about finding alternative modes of transportation while traveling in an unreliable campervan.
Fitting windows
Your choice of windows will depend on your van. You can fit awning windows similar to those you might find in an RV or regular side-hinged windows. Awning windows have hinges that allow them to be opened back, they’re great for ventilation and airflow, but they are more waterproof than regular side-hinged units.
Side-hinged windows have more options for opening and closing them, like completely closing them, so if you’re not keen on getting rain in your van, these are probably better for you.
You can also install new windows in your campervan and avoid paying an installer. The first step is choosing the right size of window frame based on how much space you want available inside your campervan once they’re installed and whether or not any modifications need to be made. Once this is done, measure where each window might go using chalk lines. This will help when installing each window because it allows easy alignment between frames and walls or other surfaces within the vehicle.
When it comes to installing those frames into place, start by cleaning off any dirt around where they’ll go with some warm water and dish soap; if necessary, apply a sealant such as silicone caulk around the outer edge of each frame before attaching them with screws or other appropriate fasteners.
Insulating
Insulation is the most important thing you can do to turn your campervan into a home away from home. In winter, insulation will keep you warm and cozy. In summer, it’ll help keep your van cool and comfortable.
Reflective foil or bubble wrap materials reflect heat towards their source, keeping the heat in during winter or out during summer. They’re generally used as an additional layer over existing material, such as plywood.
Fitting essentials
It helps to know what kinds of brands are best suited for van-life setups. Each product category has experts and manufacturers who specialize in creating quality gear designed for life on the road (or off).
A good example would be Coleman, they make everything from coolers to stoves and tents to sleeping bags, but there are other brands out there. Keep an open mind while shopping around so that when someone tells you about their favorite brand-name product, you can do your research before making up your mind.
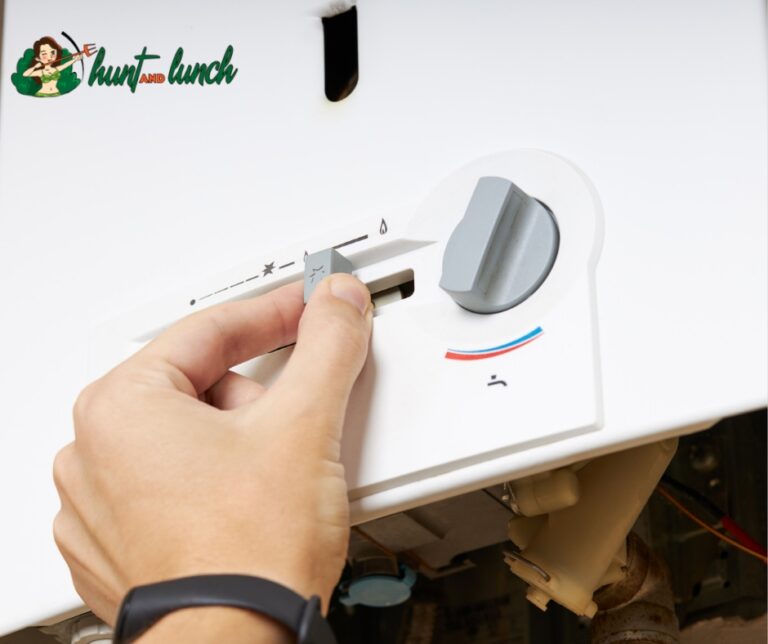
A kitchen sink or two-burner stove-top with oven attachment (or both). These depend on whether your vehicle is equipped with plumbing already installed; most vans don’t come with kitchens at all, so this step is mandatory for campervan conversion, no matter what type of vehicle is used as the base vehicle.
A bed. This will be a permanent fixture in your van. It’s best to construct it so it can fold up and down, though you may choose to keep it as a permanent fixture if you wish. The same goes for the fridge; it’s better to go for a small size because it takes up less space in the van, which means you’ll have more room for other things.
Cladding
Cladding is used to describe the material fitted to your van’s sides. If you’re converting a van that already has cladding or if you’ve built your campervan from scratch, then this process won’t be necessary. However, it’s common for people to want their vans to match the look of other vehicles in their fleet. So even if your van doesn’t have beds and cupboards inside, it could still benefit from some cladding.
Two types of cladding can be used on a campervan: plastic and wood. Plastic is easier to install and lighter than wood. Still, the wood looks better, so many people choose this option when building their campervan.
Conclusion
If you’re thinking of converting your van into a campervan, then this article will help you get started. We hope it has given you an idea of what can be done, and now it’s time for you to make your plans. Remember, there are many different ways to do this project, so don’t be afraid to experiment.

I’m Cindy, a free-spirited outdoor enthusiast. Since childhood, Our family frequently goes on weekend camps and my father, who was a skilled hunter, used to teach my siblings and me valuable things about wildlife survival. I made this blog to share my knowledge, experiences, and tips.