Volvo Penta Duo Prop is a really popular motor. It is quite relatable. But it too can have issues.
So what are volvo penta duo prop problems?
The problems can include a damaged propeller. In that case, you might need to change the propeller. Alternatively, your problem might be with old outdrive oil or ungreased bearings. These problems can be handled easily.
This just tells you about the issues. You can find a lot more about the problems and the solutions right in this article.

Troubleshooting Volvo Penta Duo Prop
Penta Duo Prop is very functional and useful. But there are some problems you may face with a Penta Duo prop. Here are some of the most common ones, and how to resolve them.
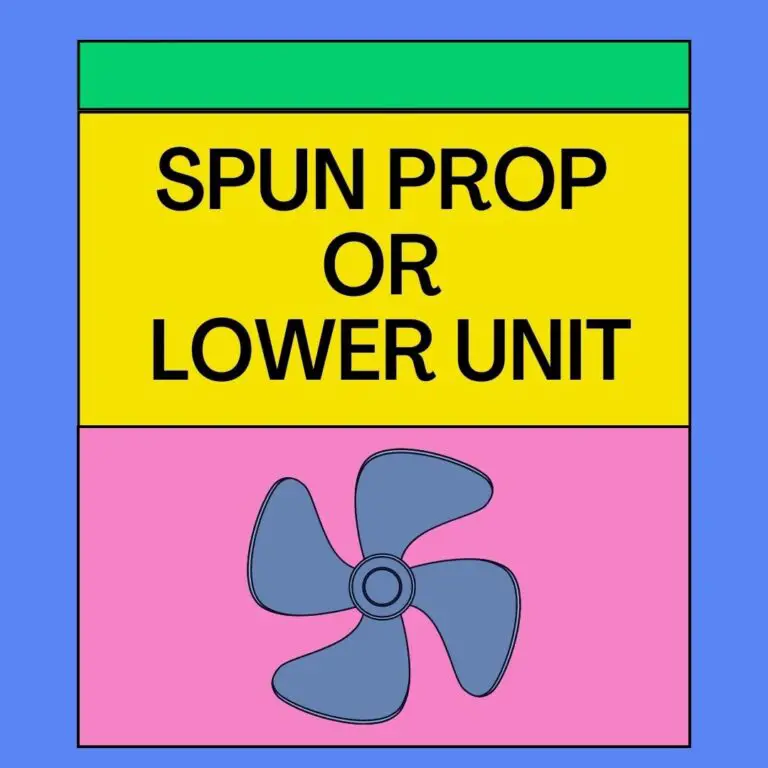
Problem 1: Damaged Propeller
The propellers may suffer from wear and tear due to use. In that case, they might get damaged and become unusable.
The damages can be caused by many different reasons. Boating in 2-3 foot waves might be one of them.
Solution: Changing Propellers
Replacing the propellers is something you can do. Just knowing how to remove and install the propellers is quite necessary for Volvo duo prop maintenance.
Step 1: Gathering the Tools
The original equipment manufacturer’s tools are also quite good for the task at hand. The Volvo Prop Removal tool set will do the task just perfectly.
The removal tools for the front prop and the removal tools for the rear prop are different. Before you begin working, make sure they are within easy reach.
Step 2: Preparing
To begin, make sure the drive is in the forward gear. It will secure the props in their positions. You are now able to begin after the props have been put into position.
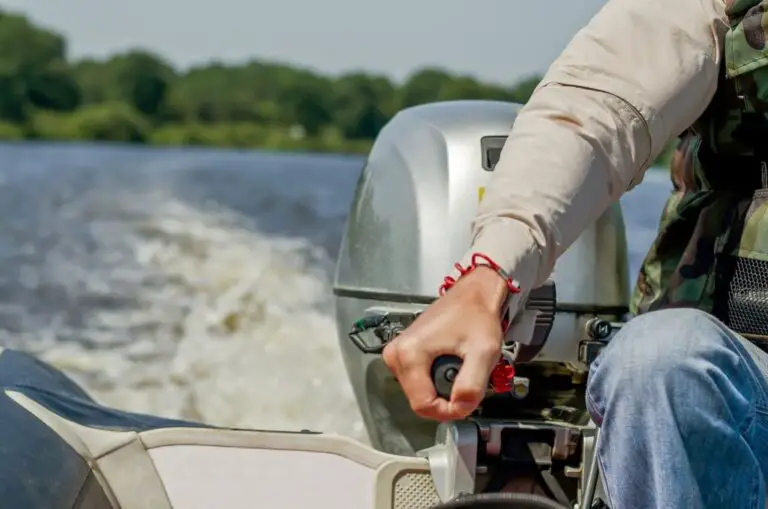
Step 3: Removing the Outside Prop
Now we begin Volvo Penta duo prop removal.
To remove the rear prop or the outside prop, use the removal tool with the smaller head. Unscrewing the prop merely requires using the tool that’s provided.
Step 4: Removing the Inside Prop
The next step is to take the bigger of the two tools. Then insert the side that has the teeth into the drive. It is important that the teeth be aligned correctly with the propeller drive.
Take the rod that was already in use once the tool and the prop are in the correct position. The rod was used in the process of removing the outside prop. It will now come in handy once again.
Put the handle of the smaller instrument into the larger instrument’s holes. It will make it much easier for you to get a grasp on the bigger tool. The propeller should also be unscrewed.
To loosen the propeller, slowly spin the rod in the other direction. Do not apply an excessive amount of force, since this might cause the rod to bend. Remember to be patient and careful; the propeller will rotate freely once you do.
Step 5: Installing the Propellers
Just do the uninstalling process in reverse to install the propellers. It is very simple. Just make sure you are careful and do not apply too much force.
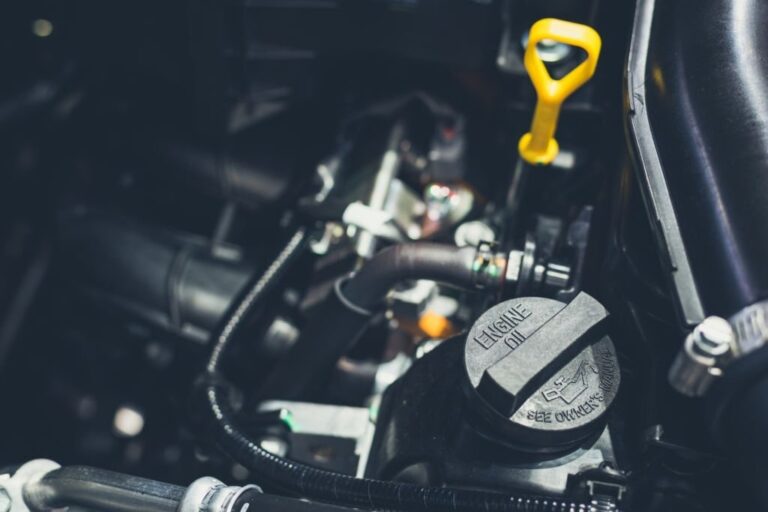
Problem 2: Old Outdrive Oil
Having old drive oil can cause many sorts of problems in the Volvo Penta Duo Prop. so it is necessary to keep the drive lubricant and gear oil fresh.
Old drive oil might even limit your boat’s speed to 10 mph.
Solution: Changing Drive Oil
The replacement process obviously requires you to first remove the Volvo Penta duo prop gear oil. Then refill it. This is how you can do it.
Step 1: Locating the Drain Plug
There is a drain plug on certain versions that are located below the propeller. On some versions, the drain pipe may only be accessed once the two propellers have been removed first.
See if the drainage plug is under the propeller. If it is there, go to step 3 directly.
Step 2: Removing the Propellers If Needed
As was indicated before, many versions come with the drain stopper already installed within the propeller. When working with models of this kind, it is necessary to begin by removing the propeller.
In the prior section, we went through the steps of removing the propellers. Continue in this manner.
When you remove both of the props, you will see that there is a little hole. This is the drain plug that we had been seeking.
Step 3: Removing the Vent
A vent may be seen at the very top of the propeller body. Before removing the drain plug, you must first make sure that the vent is open.
A dipstick may also be found on the vent. Using the dipstick will make it possible for you to check the oil level at any time.
Step 4: Replacing the O-rings If Needed
Along with the dipstick, you will also receive an o-ring. Check to see that the o-ring is in good shape. Immediately replace it if there is any evidence of damage.
In addition, the drain plug is equipped with an o-ring. Make sure you do not lose it. Alternatively, if it is in terrible shape, you should replace it.
Step 5: Draining the Oil
At this point, you should drop your drive into a pail. Also, remove the stopper from the bottom drain. The oil should be allowed to drip into the bucket.
Wait for the drive to drain out the oil completely. It can take a while, but be patient.
When everything is finished draining, use a towel to wipe down all of the surfaces.
Step 6: Pumping the Oil
It is now time to start refilling. It is recommended that you use the Volvo Penta Synthetic gear oil. In contrast to the vast majority of other aftermarket oils, we strongly advise using them for the outdoors.
Invest in a pump for your convenience as well. Then, depending on the kind of drive you have, attach the appropriate hose to it. The next step is to allow the pump to be filled via the opening in the drain.
Be careful to start filling it up from the bottom and work your way up. Because of this, there won’t be any trapped air bubbles. When adding liquid from the top, there is a possibility that air bubbles may get trapped.
Just inject some oil into the transmission now. Follow the instructions provided by the manufacturer on the amount of oil that has to be pumped in.
Keep in mind that you can verify whether or not the container is full by using the dipstick that is located on the top.
Problem 3: Ungreased Gimbal
A properly greased gimbal bearing keeps the boat propeller drive running smoothly. It is necessary to keep the gimble greased properly.
Solution: Pre Greasing the Bearing
Applying grease to the bearings will smoothen up the propeller’s functions.
Step 1: Unpacking the Bearing
This step is for those who are going to be using brand-new bearings.
Unpack the bearing. Do not deform the covers, which can hinder your installation. Slowly remove the cover and look for the hole.
Some bearings are permanent and they do not have the hole. They are non-greaseable. But we are not working on them.
Put the cover away in a safe place.
Step 2: Preparing the Bearing
Put the bearing in the vice gently. Take a plastic cap from an RTV or silicone gun. And cut it in such a way that it can be screwed onto the 1-8.
Taper it in such a way that it fits nicely in the gimbal bearing. Now plunge it into the gimbal bearing and give it a couple of pumps.
Step 3: Pumping and Spread the Grease
Six or seven pumps should do the trick. You will slowly see the grease coming out.
When you see the grease coming out from the middle, spread it out using your fingers. It will help spread it evenly through the bearings.
After a couple more squeezes you will see the grease coming out from the top as well. Make sure to spread it all out. The grease will be squished out from both sides.
Step 4: Installation
Now it is time to install this. Make a sharpie mark near the greased-up hole. Also, make a mark on the install tool and line them up.
When you go to put it in, it is really important that you do not rotate it. It needs to line up with the grease tube. The grease sits on the outside of the drive.
The opening of the cover must also be aligned properly. Line it up properly before you install it.
Before installing, give your grease a zerk in the drive with a quick pump. It will push out the old grease. Then wipe it clean and there will be clean grease going in there.
FAQs
What is the advantage of a duo prop?
The use of dual props results in improved acceleration and increased peak speed. When compared to an aluminium propeller of the same size and configuration, a composite propeller has more strength and thinner blades.
How many hours will a Volvo Penta engine last?
Any engine that is regularly maintained and cared for may last for a very long time. Around 380 hours each year. That’s equivalent to four or five years of work for the engine of a large commercial vehicle like a truck or van.
Is Volvo Penta oil synthetic?
Yes. It’s a 100% synthetic oil formulated for high-output gas motors. Having the flexibility to operate in a broad temperature range makes the engine last longer.
Conclusion
And with that, we know so much more about volvo penta duo prop problems. The problems could be of a different variety. And they all have different solutions.
Follow our guide and you should be just fine. But if needed, do consult a professional.

I’m Cindy, a free-spirited outdoor enthusiast. Since childhood, Our family frequently goes on weekend camps and my father, who was a skilled hunter, used to teach my siblings and me valuable things about wildlife survival. I made this blog to share my knowledge, experiences, and tips.


![Mercury 9.9 Pro Kicker Problems [4 Issues And Fixes]](https://huntandlunch.com/wp-content/uploads/2022/11/Mercury-9.9-Pro-Kicker-Problems-768x768.jpg)