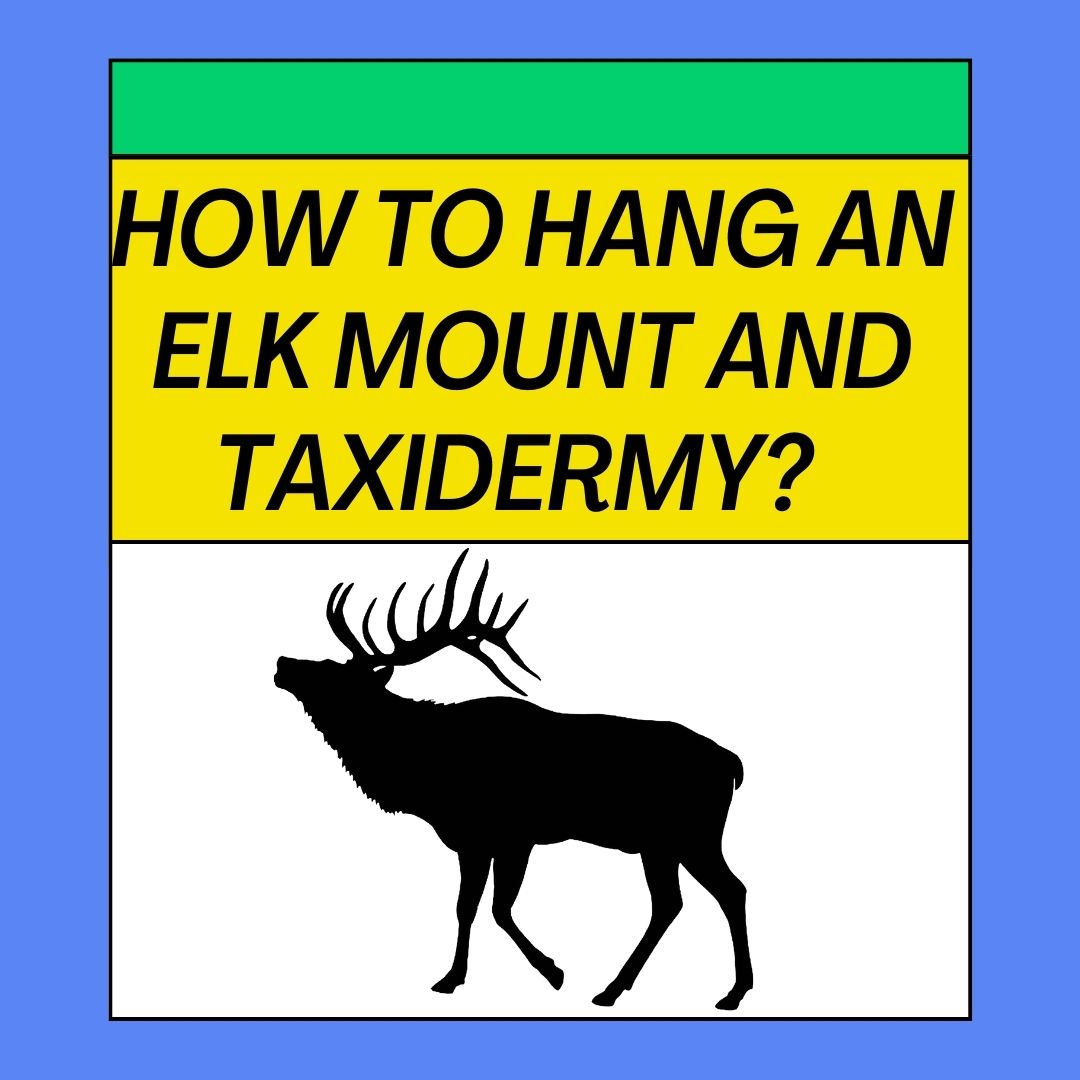
How Do You Hang Taxidermy? Hanging taxidermy, whether it’s a mounted head, a full animal, or another taxidermy piece, requires careful planning and the right equipment to ensure it’s displayed securely and prominently. Here’s a step-by-step guide on how to hang taxidermy:
Materials You’ll Need:
- Taxidermy piece
- Wall space or mounting location
- Wall mounting bracket or hanger
- Appropriate hardware (anchors, screws, and bolts)
- Wall studs locator (stud finder)
- Level
- Pencil or marker
- Measuring tape
- Drill and drill bits (if needed)
Steps to Follow:
- Select the Location:
- Choose a location on your wall where you want to display the taxidermy piece. Ensure it’s at an appropriate height and well-lit for showcasing the piece effectively.
- Locate Wall Studs:
- Use a stud finder to locate the wall studs behind the drywall in the chosen location. Mark their positions with a pencil or marker.
- Prepare the Taxidermy Piece:
- Ensure the taxidermy piece is clean and in good condition. Inspect it for any loose parts or damage. Make any necessary repairs or adjustments before proceeding.
- Attach Wall Mounting Bracket:
- Most taxidermy pieces come with a built-in mounting bracket on the back. If your piece doesn’t have one, you may need to purchase a wall mounting bracket separately.
- Securely attach the wall mounting bracket to the back of the taxidermy piece using appropriate hardware, such as screws or bolts.
- Measure and Mark:
- With the help of a measuring tape and level, determine the desired height and alignment for your taxidermy piece. Mark these measurements on the wall where you’ve located the studs.
- Drill Pilot Holes (If Needed):
- If the mounting bracket requires it, drill pilot holes into the wall at the marked stud locations using a drill bit slightly smaller than the screws or bolts you’ll use.
- Attach the Bracket to the Wall:
- Securely attach the wall mounting bracket to the wall using screws or bolts. Ensure it’s level and aligned with the pilot holes if you drilled them.
- Hang the Taxidermy Piece:
- Carefully lift the taxidermy piece and hang it onto the wall mounting bracket. Ensure that it fits securely and aligns with the markings on the wall.
- Double-Check Stability:
- Confirm that the taxidermy piece is hanging securely. You may need to tighten the bracket if necessary.
- Level and Adjust:
- Use a level to check if the taxidermy piece is hanging straight and level. Make any minor adjustments to the placement until it’s perfectly aligned.
- Final Inspection:
- Step back and inspect the mounted taxidermy piece from different angles to ensure it’s well-positioned and level. Make any final adjustments as necessary.
- Enjoy Your Taxidermy Piece:
- With the taxidermy piece securely hung on your wall, you can now enjoy displaying your trophy or artwork for all to see.
Hanging taxidermy involves careful attention to detail, proper hardware, and ensuring that the piece is securely fastened to the wall. Properly displayed taxidermy can be a striking addition to your home, showcasing your appreciation for wildlife and artistry.
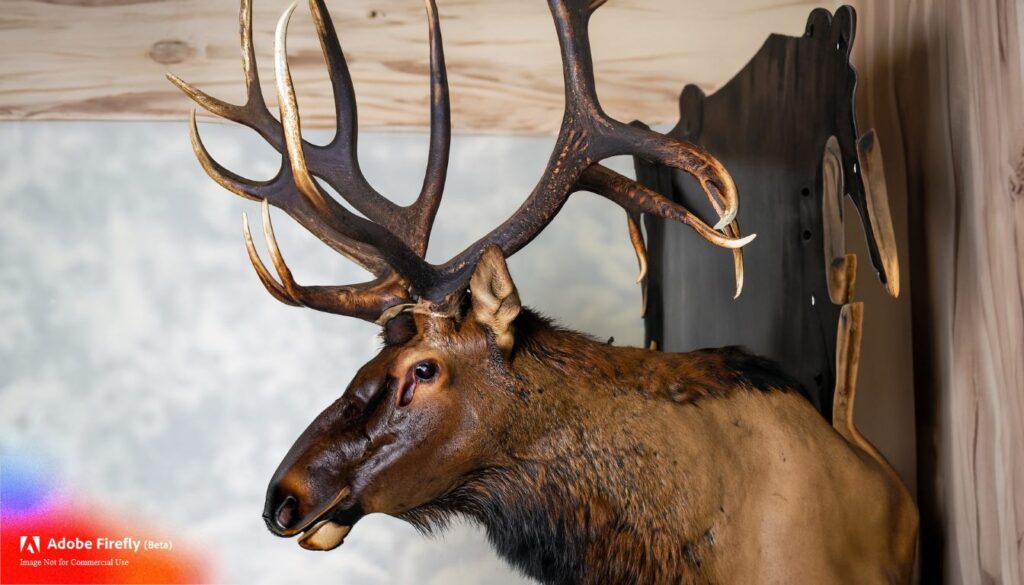
steps on how to hang an elk mount:
- Gather your materials. You will need the following:
- An elk mount
- A mounting bracket
- A level
- A drill
- Screws
- A hammer
- Safety glasses
- Gloves
- Choose a location for the mount. The mount should be hung in a place where it will be seen and appreciated, but also in a place where it is safe from damage. Avoid hanging the mount in direct sunlight, as this can fade the fur.
- Mark the mounting location. Use a level to mark the location where the mounting bracket will be screwed into the wall.
- Drill pilot holes. Drill pilot holes in the wall at the marked locations. The pilot holes should be slightly smaller than the screws that you will be using.
- Screw in the mounting bracket. Screw the mounting bracket into the wall using the screws that came with it.
- Attach the elk mount to the mounting bracket. Follow the instructions that came with the elk mount to attach it to the mounting bracket.
- Enjoy your new elk mount!
some additional tips for hanging an elk mount:
- Make sure that the mounting bracket is securely attached to the wall.
- Use the correct size screws for the mounting bracket.
- Do not overtighten the screws, as this could damage the mount.
- If you are not comfortable hanging the mount yourself, hire a professional to do it for you.
some safety considerations when hanging an elk mount:
- Always wear safety glasses and gloves when working with power tools.
- Be careful not to drill into any electrical wires or pipes.
- Use a level to make sure that the mount is hung straight.
- Do not hang the mount in a place where it could fall and injure someone.
How Do You Hang an Elk from Drywall?
Hanging an elk or any heavy object from drywall requires proper support to prevent damage or injury. Follow these steps:
- Locate Wall Studs: Use a stud finder to locate the wall studs behind the drywall. Mark their positions.
- Choose a Wall Mount: Select a heavy-duty wall mount or bracket that can support the weight of the elk. Ensure it’s rated for the load.
- Drill Pilot Holes: Drill pilot holes into the wall studs at the marked positions using a drill bit slightly smaller than the screws or bolts you’ll use.
- Attach the Bracket: Securely attach the wall mount or bracket to the wall using screws or bolts, ensuring it’s level and aligned with the pilot holes.
- Hang the Elk: Lift the elk and hang it onto the wall mount or bracket, ensuring it’s securely in place.
- Double-Check Stability: Confirm that the elk is hanging securely. You may need to tighten the bracket if necessary.
Ways to Make an Elk Skull Mount:
Making an elk skull mount involves cleaning and preserving the skull. Here’s a basic process:
- Remove Flesh: Carefully remove all flesh and tissue from the skull, leaving only bone.
- Boil and Clean: Boil the skull to remove remaining tissue and clean it thoroughly. You can use a degreaser to remove excess fats.
- Whiten: Whiten the skull using a mixture of hydrogen peroxide and water. This will give it a clean, white appearance.
- Mount: Attach the cleaned and whitened skull to a mounting plaque or display board using screws or other appropriate hardware.
Related FAQ’S About deer mount hanging
How Do You Hang a Heavy Animal Mount?
To hang a heavy animal mount, follow these steps:
- Use a heavy-duty wall bracket or mounting system designed for taxidermy.
- Locate wall studs using a stud finder and mark their positions.
- Drill pilot holes into the wall studs.
- Attach the bracket securely to the wall studs using heavy-duty screws or bolts.
- Hang the animal mount on the bracket, ensuring it’s level and securely fastened.
How Long Do You Hang Elk Quarters?
Hanging elk quarters for aging is known as dry aging. The duration varies depending on personal preference and the desired flavor. Typically, you can dry age elk quarters for 7 to 21 days in a controlled environment with consistent temperature and humidity.
How Long Does It Take for Elk to Dry Age?
The duration for dry aging elk meat varies depending on your preference and the specific cut of meat. It can range from 7 to 21 days or even longer. Longer dry aging times typically result in more intense flavors and increased tenderness.
How Long Should Meat Hang For?
The length of time meat should hang, or be dry-aged, depends on factors like the type of meat, cut, and personal taste. It can range from a few days to several weeks. Dry aging allows enzymes to tenderize the meat and intensify its flavor. Experiment to find the duration that suits your taste preferences.