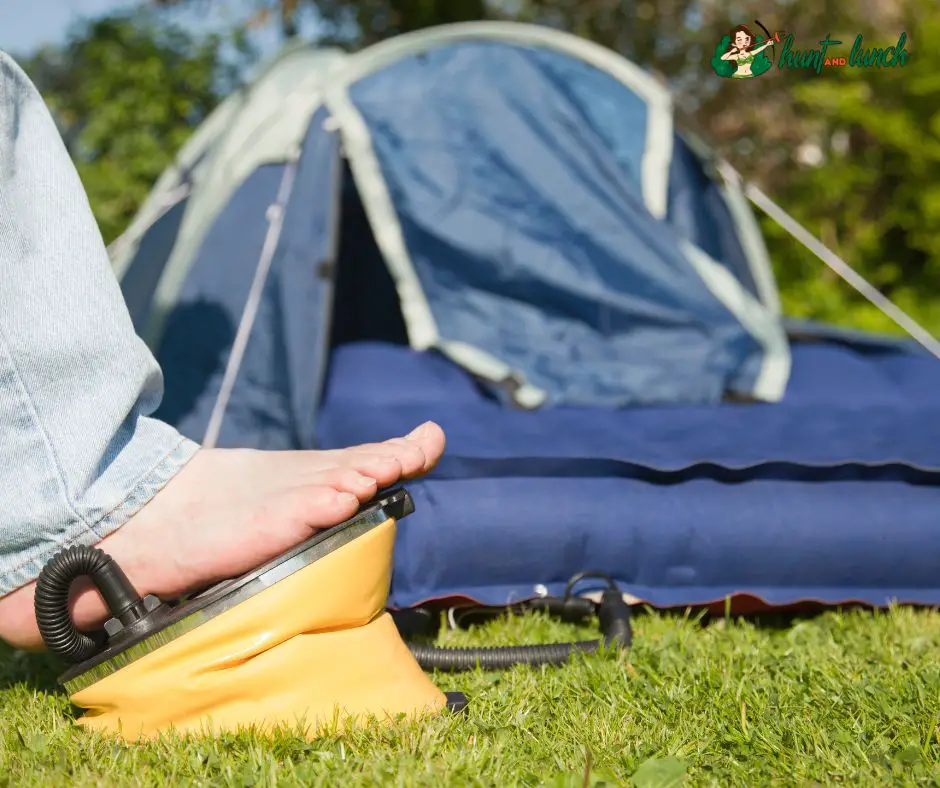
Inflatable mattresses are a great way to get a good night’s sleep without spending much money. However, they have their downsides, such as having holes that are easy to puncture or scratch. Don’t despair if you find yourself with an air mattress with a leak or tear in it, don’t despair. With proper care and suitable materials, you can patch the hole and inflate your mattress again so you’ll be ready for another night’s rest.
Materials and Tools Needed to Patch Your Inflatable Mattress
Fixing your inflatable mattress requires a couple of materials and tools to get done. Thankfully, most of what you need is readily available, and many can be bought from hardware stores. Here is a list of what you will need:
- Gentle Cleanser: A dish soap or detergent will help you clean the area to be patched and with spotting the leak.
- Sponge or Cleaning Towel: You dampen the sponge or towel with a solution of your gentle cleanser and water.
- Manufacturer’s Patch Kit: Most air mattresses are sold with a patch kit. These kits contain an adhesive, applicator, and patches you can use on your air mattress.
- DIY Patch Kits: If your mattress doesn’t come with a kit, you can purchase air mattress patch kits online or at some retail stores. These kits come with the same basic materials as the manufacturer’s kit, with the significant difference being compatibility. To overcome this hurdle, you should go for kits with patches that match the material and color of your mattress.
- Thin Plastic Material: asides from using a kit, you can also use a thin plastic material to help block your hole. You can use a shower curtain liner or other durable plastic.
- Glue: You also need an adhesive to help you patch an inflatable mattress. Go for a strong bond that will hold under stress and will dry quickly. Also, ensure your adhesive is designed to work for plastic or one that dries airtight.
- Flat, Heavy Object: After performing your patch job, you must place a flat, heavy object on the mattress to allow the patch time to cure and adhere.
How to patch an inflatable mattress
A puncture or tear may cause damage to an airbed. You must patch up the damaged area before replacing the air. To patch your inflatable mattress, follow these steps:
Locate the hole
Using your hands is the best way to find a hole in your inflatable mattress. Feel around the bed’s surface for a hole along its sides and bottom. If you feel something like an air pocket or slight indentation, there could be a puncture in your mattress that needs patching up.
Here are other ways to locate the puncture on your mattress:
Listen for hissing sounds
If there are any hissing sounds, move your ear close enough to hear escaping air. Slowly move your ear across the entire surface of the mattress, keeping your ear close enough to hear escaping air and feeling gently with one hand until you find a leaky spot.
Start on the bottom of the mattress, try the sides, and finally, checkup near where you connect it to its valve or fitting.
Wet the back of your hand
Wet the back of your hand with water, and then run it along the surface of the mattress to simulate how air escaping from small leaks feels. You may also feel the coolness on your hand if there are no leaks. This will help you find any problems before inflating the mattress and risking a large tear or rip.
Use soapy water to search for bubbles
Another way to quickly find a leak is to use soapy water. Use a clean sponge to wipe the surfaces of your bed with soapy water. If there are holes, escaping air will make the soapy water produce bubbles. This is an indication of a leak.
Clean the surface
To clean the surface of your mattress, you’ll need a clean cloth or paper towel. You can also use a cleaning solution, disinfectant, household cleaner, or damp cloth. Depending on the type of mattress, you may be able to vacuum it. This will help remove any dust or debris accumulated on your bed.
Patch the hole
Apply glue to the patch, then press it onto the mattress. Allow drying thoroughly before testing. If you notice any leaks, re-apply the patch and let it dry again. If there is still a leak, then contact your mattress manufacturer for further instructions or call a professional mattress repair company to look at the problem.
Test seal
You can test the patch by blowing air into the mattress. The hole should be perfectly sealed if you can’t blow air through it. If you still leak, you can apply another patch to see if that fixes the problem. If your patch is airtight, then your mattress is fixed.
Tips To Help You Out When Patching an Inflatable Mattress
- Before you strip the covers of your mattress and search for holes, know that no air mattress holds air indefinitely. You will need to re-inflate your mattress whether or not you leak.
- To avoid going on a wild goose chase, it’s best always to pump air into your bed first. After this, wait for several minutes. If your bed becomes severely deflated, then you likely leak. You can also sit on the mattress after pumping air to see how much it shrinks.
- Also, you should check the valve holding in the air. This is often the first source of a leak on an inflatable mattress. Run your hand over the valve and feel for any escaping air. Sadly, fixing the valve is one of the most complex parts of your bed to repair on your own.
- After locating your leak, use a marker to create a boundary for an accessible location later. Do this before deflating your mattress, as it will be hard to locate the leak when there is no air in your bed.
- When cutting your patch, ensure it’s a little bigger than your hole. This provides you with enough material to cover the leak. Therefore, cut your patch so it fits over your leak with extra lengths in all directions.
Conclusion
The process is relatively simple if you need to patch an inflatable mattress. It just takes some time and patience. If you are unsure what to do, it’s best to get professional help so your repair job will last longer and look great.

I’m Cindy, a free-spirited outdoor enthusiast. Since childhood, Our family frequently goes on weekend camps and my father, who was a skilled hunter, used to teach my siblings and me valuable things about wildlife survival. I made this blog to share my knowledge, experiences, and tips.